The fastest, most reliable way to find out if your PC can run Windows 11 is Microsoft’s own PC Health Check app. It takes about two minutes, checks every requirement Microsoft actually enforces, and tells you exactly which specific requirement is failing if your device doesn’t qualify, rather than just giving you a flat yes or no. Here’s how to use it, what each result actually means, and what to do if your PC comes back as incompatible.
Step 1: Download PC Health Check directly from Microsoft
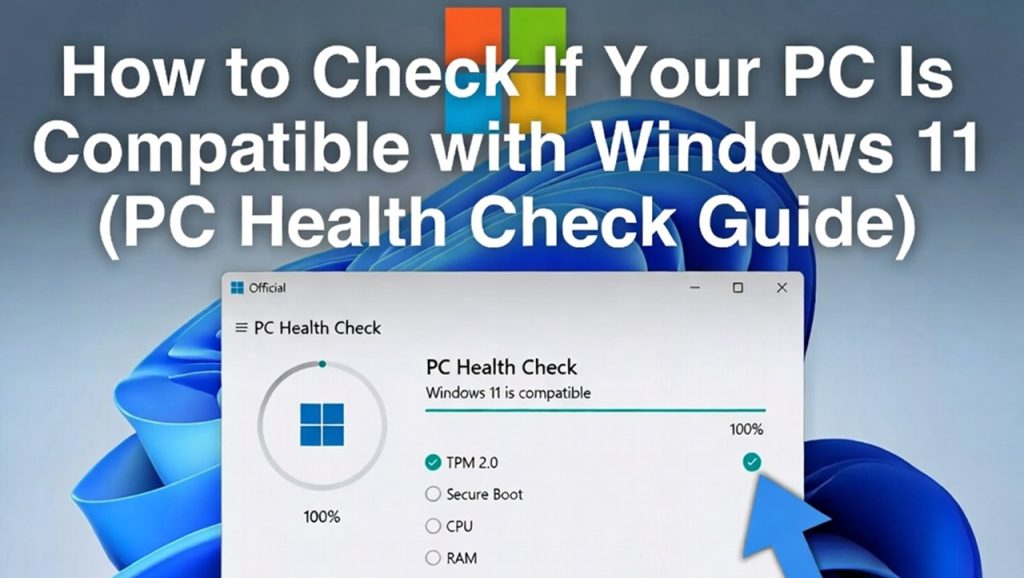
Go to Microsoft’s official Windows 11 page and look for the PC Health Check download link, or search “PC Health Check app” and confirm the result links to microsoft.com before downloading. Avoid third-party sites offering to “check your Windows 11 compatibility,” since there’s no reason to run an unverified tool when Microsoft’s own is free and takes seconds to install.
Step 2: Install and open the app
Run the installer, accept the license terms, and open the app once it’s finished. You’ll see a simple interface with a single “Check now” button under the Windows 11 section.
Step 3: Click “Check now” and read the result
The app runs its checks locally on your device and returns one of two results: your PC meets the requirements for Windows 11, or it doesn’t, along with a list of the specific requirements that failed. This second part is the genuinely useful bit, since it tells you exactly what’s blocking you rather than leaving you guessing.
What Windows 11 actually requires, and what each one means in practice
Here’s every requirement PC Health Check is checking, explained in plain terms rather than just the technical spec sheet:
A supported 64-bit processor with two or more cores. Microsoft maintains an official list of supported processors from Intel, AMD, and Qualcomm. This isn’t just about raw processing power, some genuinely capable older CPUs are excluded because they lack specific security features Windows 11 depends on, not because they’re too slow to run it.
TPM (Trusted Platform Module) version 2.0. TPM is a small security chip, or a firmware-based equivalent, that handles encryption keys and hardware-level security functions like BitLocker and Windows Hello. This is the single most common reason PCs fail the check, and importantly, it’s often not because the hardware is missing entirely, but because it exists on the motherboard and is simply switched off in BIOS/UEFI settings by default.
Secure Boot support, enabled through UEFI. Secure Boot prevents unauthorized or malicious software from loading during startup, before the operating system itself even boots. Like TPM, this is frequently a setting that needs to be turned on rather than a hardware limitation, particularly for anyone who bought a pre-built PC without ever touching BIOS/UEFI settings.
4GB of RAM minimum. This is genuinely just a minimum bar for the OS to function, not a comfortable everyday amount. Most PCs built in the last several years clear this easily.
64GB of storage minimum. Same idea, a floor rather than a comfortable operating amount, especially once you factor in updates and installed applications over time.
A display larger than 9 inches with at least 720p resolution. Rarely the actual blocker for a standard desktop or laptop, this mostly exists to exclude certain small-format or embedded devices.
DirectX 12 compatible graphics with a WDDM 2.0 driver. Almost universally satisfied by any GPU or integrated graphics from the last decade or so.
If your PC failed on TPM 2.0 or Secure Boot specifically
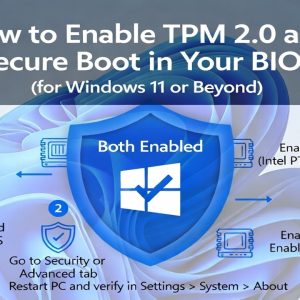
This is the most common scenario, and it’s usually fixable without buying new hardware. Restart your PC and enter your BIOS/UEFI settings, commonly by pressing F2, F10, Del, or Esc repeatedly during startup (the exact key varies by manufacturer, and it’s often shown briefly on screen during boot).
Once inside, look for a setting called TPM, PTT (Intel Platform Trust Technology), or fTPM (AMD’s equivalent), and make sure it’s enabled. Separately, look for Secure Boot under a Boot or Security tab, and enable it if it isn’t already. Save your changes and exit, then run PC Health Check again to confirm.
If neither TPM nor Secure Boot options appear in your BIOS at all, that generally does indicate a genuine hardware limitation rather than a setting you can toggle, meaning your specific motherboard doesn’t support these features regardless of configuration.
If your PC failed because of an unsupported processor
This one is a genuine hardware limitation, not a setting to change. Your options are running Windows 10 with Extended Security Updates for continued security coverage, or eventually replacing the device. We’ve laid out exactly how the ESU timeline currently works, including a recent extension that gives you more breathing room than you might expect, in Windows 12 vs Windows 10: Should You Upgrade Now or Wait?.
Some users choose to install Windows 11 anyway on unsupported hardware using workarounds like registry edits or third-party tools such as Rufus’s compatibility bypass option. This is technically possible, but Microsoft is explicit that doing so puts your device outside official support and update eligibility, meaning you may not receive future feature or security updates reliably. It’s a real tradeoff worth weighing deliberately rather than doing by default.
What if PC Health Check gives an unclear or generic error?
Occasionally the app fails to complete a check properly due to an outdated version of itself rather than an actual hardware issue. Make sure you’ve downloaded the current version directly from Microsoft, restart your PC, and try again. If it still won’t complete a check, Microsoft’s System Information tool (search “msinfo32” in the Start menu) will show you your BIOS mode (UEFI versus Legacy) and other details manually, which can help you cross-reference against Windows 11’s requirements yourself if the automated tool is misbehaving.
Why this matters even if you’re not upgrading right this moment
Knowing definitively whether your current PC qualifies for Windows 11 is useful groundwork regardless of your timeline, especially with Windows 10 now past its standard support window. If you’re on Windows 10 and haven’t checked compatibility yet, doing so now means you’re not scrambling to figure it out later, whether that’s to plan an in-place upgrade, budget for new hardware, or simply confirm you’re safely covered by Extended Security Updates in the meantime.
Once you’ve confirmed your PC is compatible, our full walkthrough covers exactly how to get the actual installation files safely, in How to Download the Official Windows 11 ISO from Microsoft, including how to verify the file hasn’t been tampered with before you install anything.
If you’re checking compatibility specifically because you’re hoping to skip to something newer
If part of your reason for checking compatibility is holding out for a rumored next-generation Windows release rather than upgrading to Windows 11 now, it’s worth knowing there’s no confirmed release date for that yet, and Microsoft has directly stated near-term plans don’t include a new OS version. For the current, regularly updated status on that front, see our Windows 12 release date and status tracker. And if you’re specifically trying to figure out what hardware would be reasonably future-proofed against whatever comes next, our breakdown in Windows 12 System Requirements: What We Can Predict from Windows 11 walks through the reasoning.
A few common questions
Is PC Health Check safe to run? Yes, it’s Microsoft’s own official tool, runs entirely locally on your device, and doesn’t send your hardware details anywhere without your awareness.
My PC failed the check, but I know it has a TPM chip. What’s going on? This is extremely common. Many PCs have TPM 2.0 hardware built in but disabled by default in BIOS/UEFI settings. Entering your BIOS and enabling TPM (sometimes labeled PTT or fTPM depending on your processor) usually resolves this without any hardware changes.
Can I still use Windows 10 if my PC doesn’t qualify for Windows 11? Yes, and you likely have more time than you think. Microsoft recently extended free consumer Extended Security Updates coverage for Windows 10 through October 2027, giving you a real runway to plan your next step.
Is it worth installing Windows 11 on unsupported hardware using a bypass tool? It’s possible, but Microsoft explicitly doesn’t guarantee future updates for devices installed this way, so it’s a genuine tradeoff rather than a clean workaround.